When performing a pipe inspections, there is often a need to measure cracks or other items on the surface of the pipe. This Document will lay out the steps to setup and use a two point laser with WinCan VX to make these measurements.
1. Setup
1.1 Creating a configuration file
To configure a two point laser to work with WinCan VX, a text file need to be saved to the following location:
C:\Users\Public\Documents\CDLAB\PhotoAssistant\ini
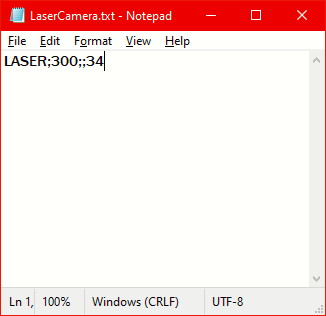
This text file will need adhere to the following format:
- 1st column: LASER must always be entered here.
- 2nd column: Defines how far from one another the cross-hairs should be displayed (number
of pixels). To find the appropriate value, a photo taken in VX can be opened in MS-paint or similar software to count the number of pixels between the laser points. - 3rd column: Empty
- 4th column: Distance in millimeters between the two laser points.
The individual values are separated by a ;.
1.2 Adding the camera to project participants
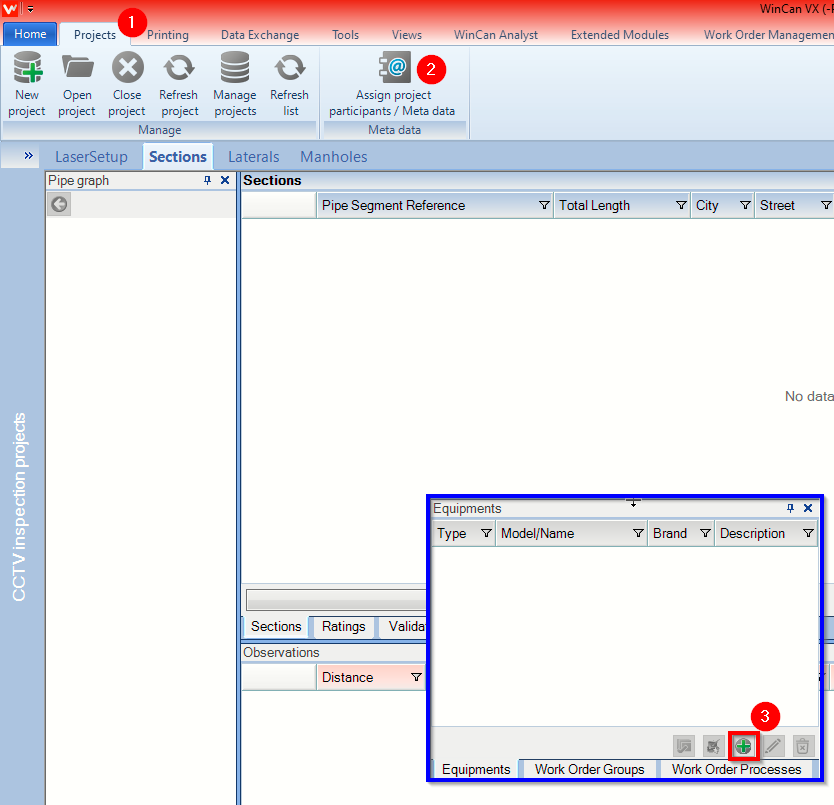
With the Text file created, it will be necessary to add the camera to the list of available equipment. This will need to be done with an existing project open. From the Projects tab in VX, open the Project participants tool and use the green + in the Equipments area to add the camera to the list of available hardware.
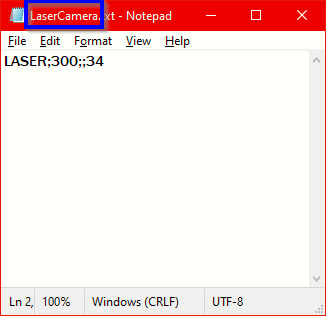
Next, the Type will need to be set to 'Camera' and the the Model/Name will need to be set to the name of the previously created text file. It is important that these match exactly. Use the green save button followed by the green Check  to save your settings and leave the projects participants page.
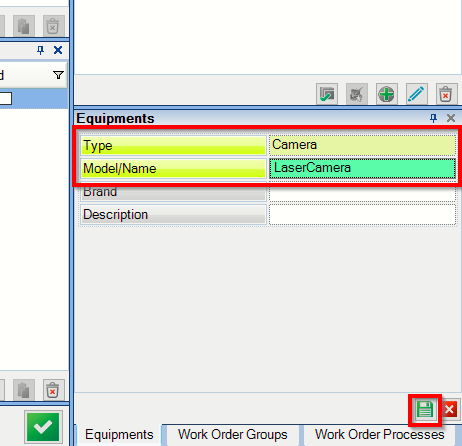
This will make the two point laser available for use in projects.
2. Using the Two Point Laser
2.1 Adding the camera to the current project
With the Camera added to the list of availabel equipment, it can be selected as the equipment used on any project. This will be a necessary step for any prokect that makes use of the two point laser.
To set the desired camera for an inspection, the 'Camera' field should be populated from the drop down list with the name of the camera being used for the two point measurements.
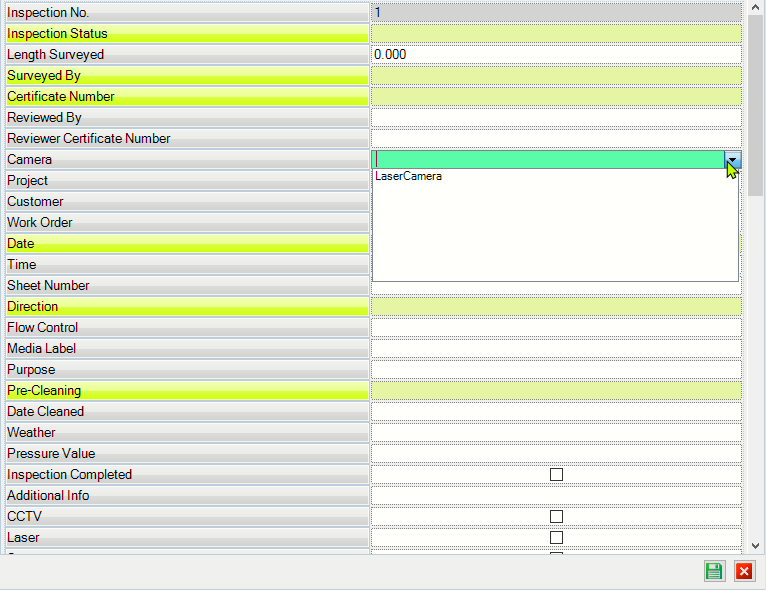
Fill out the rest of the necessary information and save. The selected camera will carry over to subsequent inspections in the same project.
2.2 Calibrating and taking measurements
To take a measurement with a two point click the photo assistant button below the live video feed.

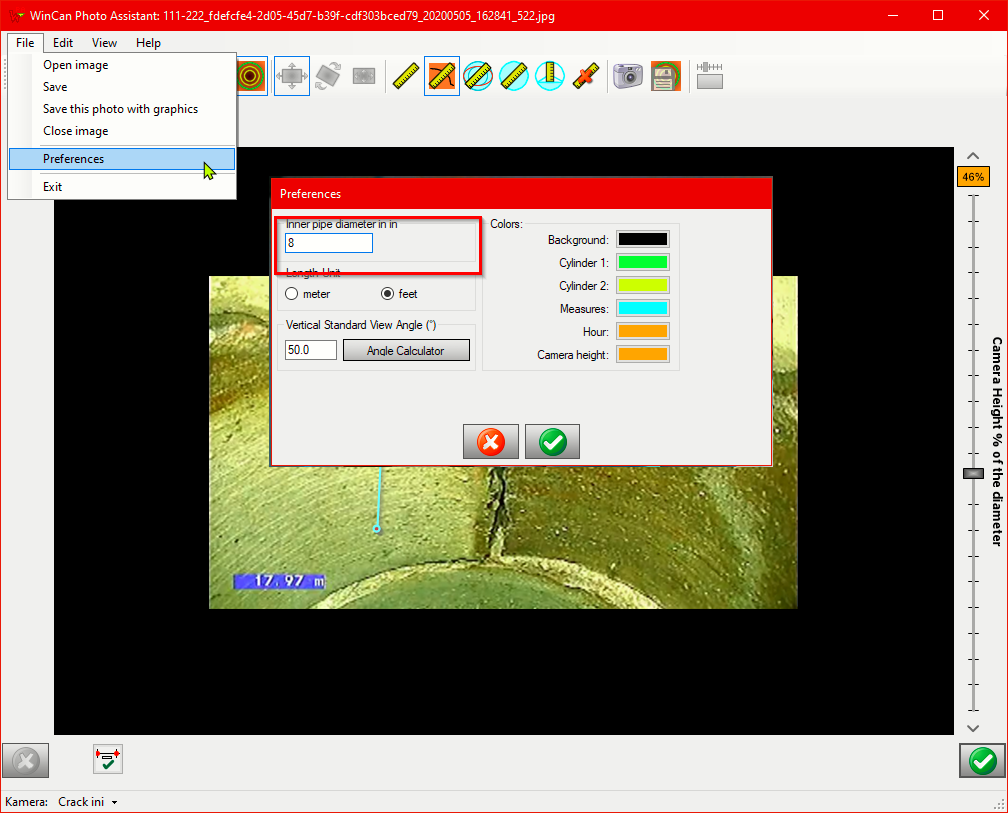
In the Photo Assistant, ensure that the Inner pipe diameter is set to the corect size under File --> Preferences.
Then click on the crack measurement button  . This will change the pointer to a cross hair which can be used to click on each of the the two laser points showing on screen. Once both points have selected, click the calibrate button
  .
.
This calibration must take place for every measurement taken.
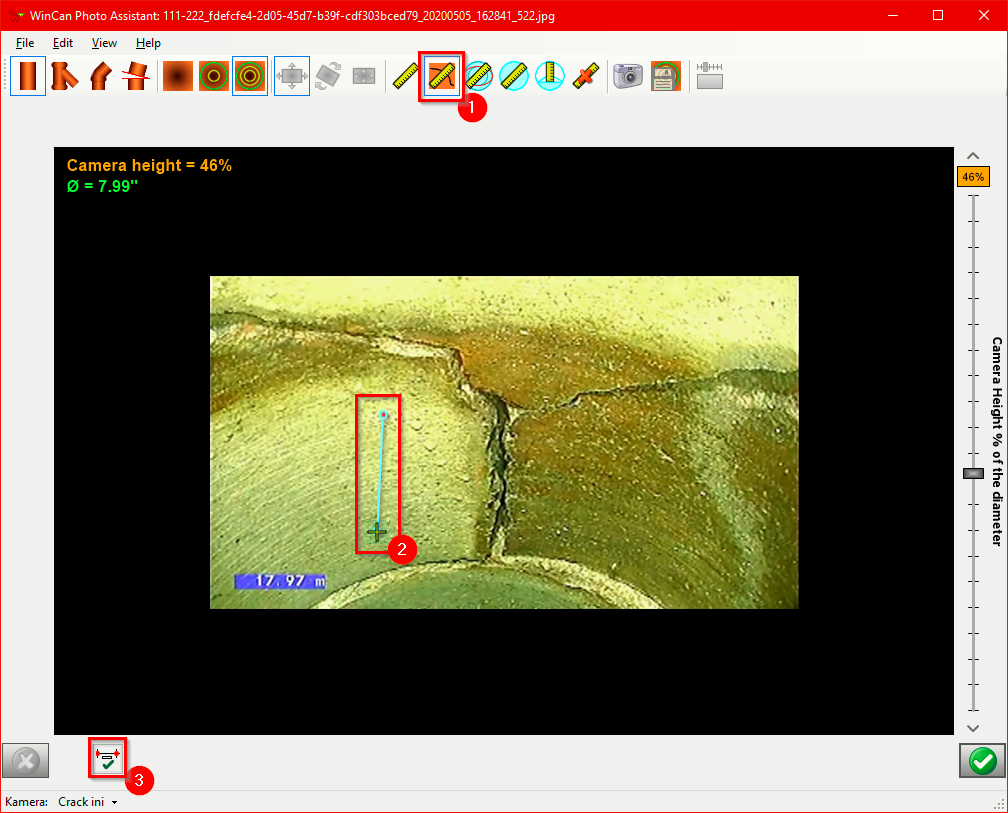
Once the calibration is complete, the crack can be measured by first clicking one edge of the crack, then the other. This will show the measurement in decimal inches. To save the the image with measurement on screen, click the 'Save' button  .
.

Comments
0 comments
Article is closed for comments.